Tuesday, September 28, 2010

Getting it rolling again, and getting it cleaned!

So, upon seeing just how dirty the Jeep was under the body, I decided to get the wheels back on to make it into a rolling chassis again, so that I could get it out into the driveway and power wash it.  Since I only had the brake drum off on one side, I decided just to put that wheel back on and only put the new drum on the other side.

Old 9" drum on passenger side. I left this on temporarily.

New 11" drum brake on driver's side. 
Note size difference between it and the old one on the floor.

Bearings freshly repacked, and new seals installed, I put the hub back on.

New drum, freshly cleaned with brake cleaner

There was a pretty big difference between how the freshly cleaned and packed bearing wheel spun versus the uncleaned original side.  Easily half the resistance in turning it, and it spun cleanly for quite a while.  Once I got both wheels back on, I was ready to roll it out to clean it.  Since the steering wheel is in the corner of the garage, I had to move the wheels left and right by hand to steer it out.  It was easily pushed out alone.


View showing new drum in place.

I spent about a half hour spraying off the frame with my Karcher power washer.  Quite a bit of crud came off, but I will have to take a second stab at it, using commercial degreaser and a brush.  Some of the stuff was just too caked on. I think that while I have the tub off, it would be a good time to straighten out any bent parts in the frame and shoot it with some fresh paint.  I was pleased to note no serious damage, and no rust, other than superficial surface rust, which should clean off relatively easily.

Saturday, September 25, 2010

Removing the Tub -- The Willys is naked!

If you've been following along, you know that the body had been sitting on the frame for a short time.  So, I asked a couple of guys to come over to lend me a hand getting it off. It was a lot lighter than I thought it would be. Three of us had no issues lifting it up and putting it on my 4x8 utility trailer.  I was going to put it on saw horses, but I liked the ability to be able to move the whole mess around.

Prior to loading

Last time together for a while

Thanks, guys!

M.C. Escher Jeep? (thanks, JP)

Normally, I would give a few beers to the guys for helping, but since it was 10am, and neither guy drinks beer, I got away cheap.  I owe one of my Uncle Terry's soon-to-be-infamous Whiskey Sours to Unvy, though, and some Postum (yuck) to JP. 

Anyway, it went very smoothly, other than a missed wire to the taillights which we discovered before trying to move the body.  You can tilt up each corner and with a helper, determine if there are going to be any bind points or things still connected.  The wrong time to find out that you are still attached is when you have the body lifted three feet above the frame!

Here are some shots of the "rolling" chassis.  "Rolling" is in quotes, because I still have the front wheels off, the results of my attempted brake job.  More on that later.  The access to the components is amazing, and it should be a pleasure replacing parts as needed now.  This is how the Jeeps were assembled in the factory -- as a complete, rolling chassis.  The body was added near the end of the assembly line.


From the rear

Easy access to everything, including the MC


Engine, transmission, and Transfer Case Access

Transfer case with PTO.  Note E-Brake built-in

 Thirty-five-year-old farm crud (tm)


 As you can see, reaching where I need to in order to rebuild component systems will be much easier without the body.  What is obvious now, though, is that I need to get this thing cleaned.  The Jeep is pretty cruddy, as I neglected the first step in a normal Jeep rebuild -- the power wash.  The crud keeps falling into my face when I'm underneath it, and since I want to repaint the frame, I am going to have to get this thing washed.  More on what I did about that later...


Thursday, September 16, 2010

Wrenching on the Tub

This post should get me to where I actually am in the rebuild project, so all of my "back blogging" will be complete, and the posts will likely come much more infrequently.  I have been working a lot of overtime at the fire department, working part-time as a bartender/server at The Fifth Quarter, and playing in my band, Jack's High, so wrenching time has dwindled over the last week.  However, I have a few guys coming over this weekend to help me lift off the tub.  But I am getting ahead of myself.

From the factory, early Willys CJ5s had a mechanical fuel pump, whereas modern vehicles have an electric pump.  The benefits of the mechanical pump are that if the engine cuts out for whatever reason, the fuel flow immediately stops, whereas an electric pump may keep running, overfilling the carb float and potentially causing an engine bay fire.  The earliest models had a two-stage pump, in which the top stage pumped fuel, and the bottom stage creates a vacuum in the system to drive vacuum-powered accessories, most notably the wiper on the driver's side.  The vacuum-driven wipers can be problematic, as they have a leather flap inside which tends to deteriorate over time if it's not kept lubricated properly.

The old two-stage fuel pump
Also, the extra resistance of running a two-stage pump for something that admittedly doesn't run that often (a wiper), made me decide to switch to a later-model one-stage pump and convert the wiper to electric.  There were several factors involved in my decision to swap out the pump for a single-stage.  The original pump would likely need a rebuild, which cost nearly the amount of a new pump between parts and bench time. Originality was not a concern, either.  It felt like a no-brainer to convert to a single-stage.

The pump runs by means of a lever which is driven by a concentric on the cam. While it does "rob" a small amount of horsepower, and you don't have a lot to spare with only 74hp from the factory, I thought that the benefits outweighed the disadvantages.

The open hole, showing the cam


The new fuel pump, installed

That was my brief break from wrenching on the tub, and it was back to business.  Among the things I did next were:

  • Removal of steering wheel and gear
  • Removal of brake pedal and clutch pedal
  • Disconnected speedometer drive cable
  • Disconnected and labeled chassis wiring
  • Removal of body mount bolts
  • Removal of starter switch and disconnected high/low beam switch
  • Removal of under-seat fuel tank and seats
  • Disconnected throttle linkage (pedal and hand throttle) and choke cable linkage
  • Removal of floor plates
Steering wheel removed (that was a bear)

 
Floor plates removed

After all of those things were accomplished, I tilted the body left to right and front to back on the frame to ensure that I was completely disconnected from the frame.  I then removed the windshield and tailgate to save on weight when lifting the body off.  When that was done, I decided to remove the roll bar.  A few of the bolts snapped off, but that's not a concern at this point, as I am likely to replace the roll bar with a full cage somewhere down the road.


Now you see it...


...and now you don't!

So, back to the current state, as mentioned above.  I am having a couple of friends over to help me lift the tub off the Willys and put it on a utility trailer I have so that I will have complete access for the mechanical parts of my rebuild project.  I'll keep posting as things progress!

Wednesday, September 15, 2010

Front Clip Removal

The first step in taking off a CJ body is the clip removal.  There are several small things that you need to do to ensure it comes off smoothly.  You can completely unbolt the clip, but like the removal of the tub, you will need a hand to get it off.

The first thing that I did was remove the hood.  The hinge bolts were only very slightly stubborn, after a quick blast with my new best friend, PB Blaster.  Given enough time, it seems that there's nothing PB Blaster can't get unstuck.  It eats rust like Pac-Man gobbles pellets.  Anyway, this isn't a commercial, but if you're using WD-40, you're missing the boat.  Really.

Hood hinges being removed


Hinges on the parts washer. 
You can see the original color (orange) here.

Hood's off!

After I disconnected the battery, radiator hoses, grill bolts and hood strut (one's missing), I was ready to examine the wiring on the wiring block.  That was an Air Force issued item that my Uncle Terry installed to facilitate removal of the clip.  It definitely made things a lot easier, as there were only a couple of things to disconnect, after photographing and carefully labeling with masking tape and a Sharpe, to ensure I can reconnect everything properly.  There's a chance that when I go to reassemble this, I will just replace all of the wiring while I am at it, but for the time being, I thought that it would be prudent to treat it as though I was going to retain the original wiring.

Wiring Block.  Hood strut directly above.

After I disconnected all of the wiring, there were some bolts along the side of the clip edges.  I removed these, and replaced them in their holes to ensure they wouldn't get lost.  I mean, who knows how long it will be until I get everything back together.

Speaking of which, you might see some coffee cans in various locations in these photographs.  I use a different coffee can for each little subsection of hardware, such as hood mounting hardware, etc.  I label the can, throw the lid on it, and the parts stay together and more or less clean (or at least as clean as they were when I pulled them) until I need to reinstall them.  I have found that this system works as good as any.

I had a friend come over and lift the clip off with me.  It isn't that heavy, but it's very bulky, and flexes a little when you try to remove it alone.  It consists of the grill with lights, both fenders, and the radiator.  When the clip is off, the access you gain to the front end of the Willys is amazing!  After only forty-five minutes, this is what it looked like:


Originally, I thought that I would just take off the clip for better access to the master cylinder and brake lines. However, I was inspired by the ease at which the clip came off, and decided just to pull the whole tub off while I was at it, and just do things right the first time.  Besides, just removing the clip didn't give me the complete access to the master cylinder, though it did help a bit.  Since I have to replace the leaf springs (two are broken) as well as all of the brake lines, and really want to inspect the frame, it seemed like the right thing to do.  More later!


Monday, September 13, 2010

Starting Point Pictures of the Willys CJ5

I am taking the opportunity on this post to share some photos of the various parts of the Jeep before I start digging too deeply into it.  This will serve as the basis for a comparison from the start of this journey to what I have at the end of it all.  

As you have read so far, I didn't realize that I was starting this project when it started it.  I have other photos around that actually have all four wheels on it.  I realized partway through the brake job that I had accidentally started my rebuild, so I didn't think to shoot any new photos first.  Luckily, I realized it not long after.  There are a few more pics of the Jeep through the years that I will post as I go.  So, without further ado...

Left rear corner

Right rear corner

Right Side

Front right corner

Front, dead on

Front left corner
Note: I had a friend donate the road signs to me about twenty years ago.   He worked for a highway department -- they are *not* stolen.  :)

Left rear corner, check the old school rollbar

The view from the tailgate

Gauges

Engine, left.  Military-spec wiring block visible on right

Engine, right. Note garden hose oil overflow.


(to be continued...)

It all started with a brake upgrade.

To continue with the story, I knew that I had to repair the brakes.  Obviously, the pedal's not supposed to go to the floor.  Interestingly, since the pedals go through the floor on these old Willys, the master cylinder is accessible via the removal of an access panel on the floorboard.  I pulled off the plate, and opened up the cylinder.  I found it completely dry inside.  I poured some DOT3 into it, and after about fifty pumps of the pedal with no level change, I realized that I was going to have to do more than the "basics" to get this project rolling.

Master Cylinder Location

I started doing research on the Early CJ5 Forums.  It turns out that this brake system suffers from what would be considered design flaws today, but were just par for the course back when this Jeep was new.  The early CJs weren't really intended to be driven on today's highways.  They were intended to be working vehicles on farms, or operated off-road at lower speeds than we are used to today.  As a result, 9" drums and a single reservoir master cylinder proved more than adequate.  Since this isn't an historic restoration, and safety and convenience are two of my goals, I decided to modify the stock system to a very popular upgrade.  This consists of a replacement dual-reservoir master cylinder, so that a loss of pressure in the system doesn't mean complete brake system failure, and an upgrade to 11" drums all around.  There is a gentleman named Herm The Overdrive guy on the InterWeb who sells kits to make the upgrade relatively simple, and to keep junkyard shopping trips to a minimum.

So, I called Herm up and ordered the 11" upgrade kit and dual-reservoir master cylinder conversion kits from him.  When they arrived, I was pleased to note the quality of the parts, but I was also a wee bit distraught after seeing what the installation was going to consist of.  I am referring, of course, to the difficulty in accessing the stock master cylinder in its current location.  I do want to keep the pedals through the floor, not for any other reason than I think it's cool, so relocation of the master cylinder to the firewall wasn't an option for me. 

Access from below wasn't any better.

It quickly became obvious that I was going to have to dig deeper than I originally anticipated.  It was time to start pulling off major chunks.  Since these vehicles were intended to be serviced in the field, I knew that it wouldn't be that hard.  With encouragement over the phone from my Uncle Terry, I dug in.

(to be continued...)

Saturday, September 11, 2010

The first time I tried this...

I didn't just let the Jeep sit there untouched all those years I had it.  About a year and a half ago, I decided to try and make a stab at getting it running, having very little idea of exactly what I was getting myself into.  As a mechanical novice, I figured I would get the engine started and voila!  But, as anyone who has a project Jeep knows, that was *REALLY* wishful thinking, and the kind of naivete that can get you in trouble, both physically and financially, in a real hurry.  I figured, hey, I drove that thing up onto the trailer in New York twelve years ago.  What could have changed since then?

The initial plan of attack was getting fresh, clean fuel into the system.  As I wasn't going after a full original restoration, I decided rather than mess around with the old tank, I would just order a new one.  After doing a little bit of research, I purchased a plastic reproduction under-seat gas tank, replacement filler neck grommet and cap.  When it arrived via Brown Santa, I tried fitting it in and was very disappointed to see that the neck wouldn't fit through the filler hole, and it sat in the tub cockeyed.  I returned it for a metal tank.  Originally, the thought in my feeble mind was that if I were to put in a plastic tank, I would never have to worry about replacement due to rust or whatever.  What I hadn't fully processed is that the original tank lasted well over thirty years, and doing the math, I thought that with a little extra care, a metal tank should certainly last me the rest of my days.

I wasn't able to get the old sender out of the top of the old fuel tank, as the screws had permanently mind-melded themselves in place.  I ordered a replacement.  In retrospect, that was lucky, as my Uncle Terry had converted it to 12V from 6V during the time he had it, and had just not bothered replacing the sender.  So, the first time he started it up, the fuel level sender probably had a very brief bit of shock, and was then silent forever.


Nifty New Tank 
(dusty now -- remember that this is the back story!)

So, new tank in place, I optimistically poured a gallon or two in.  Turning on the ignition, I was delighted to see the fuel gauge needle move.  That would be the extent of the positive events for that day.  I sprayed a bit of starting fluid into the carb, and surprisingly, after a short time trying, she fired up!  Well, I was so pleased, I decided to drive to the corner gas station and fill 'er up!  (I lived in the city then, and it was only a few blocks).  I hopped in, belted up, and started pulling forward.

Just then, I had a thought which might have saved my skin, and certainly saved my insurance rating.  I pushed down on the brake pedal just to make sure they were working.  Blam, it went straight to the floor.  Uh oh.  I put it back in neutral, and hopped out.  Wait, I smell gas.

I looked underneath, and saw fuel dripping from the fitting which goes into the tank.  I guess that fitting wasn't seated properly after all.  I pulled it, and drained the fuel back into a gas can.  I was defeated.  Obviously, this wasn't going to be a simple fill 'er up, fluid swap, air the tires kinda project.  I was in the middle of home renovations at that point, and so I wasn't able to really devote the time to the rebuild at that time, so I shelved it, until now.

Now that I am in a new home, with very little on the "honey do" list for the most part, I decided I wasn't going to wait any longer.

(to be continued...)

Friday, September 10, 2010

1956 Willys Jeep CJ5 - Background

As some of you might know (or might not), I purchased a Jeep from my grandfather back in 1998. It is a 1956 Willys Jeep CJ5 "Universal". It has had quite a history in my family. My Uncle Terry purchased it in 1969 while stationed in Alaska in the U.S. Air Force. He's told me many stories of abusing this Jeep horribly during its younger days, but I digress.

When my Uncle Terry left the good old USAF, he decided to drive this Jeep back to the family farm in upstate New York, which is about a 5,000 mile trip. I have done it, and back, and he and I even did it together several years back, but that's a story for another day.

He took the western route through Canada, and encountered engine problems just outside of Seattle, Washington. It was there he purchased a 1955 Chevy, had a local weld on a towbar, and dragged the Willys all the way back to Lee Center.

Back in those days, the G.I. Bill took a while to "kick in", as it were, and in order to start attending the State University of New York at Morrisville, my Uncle Terry asked my grandfather, Joe Bistrovich (may he rest in peace), to spot him the money for tuition and books. As "collateral", Grandpa asked Terry to sign  over the Jeep to him. It was a win-win, as Terry needed the cash, and Grandpa needed a utility Jeep around his dairy farm.

Uncle Terry in the Jeep circa 1972

Well, when it came time for Terry to pay Grandpa back, apparently, Grandpa didn't want to give up the Jeep after all. So, he basically told Terry that they were even, and no worries. For years after that, Terry kept trying to buy the Jeep back from my grandfather, and he always refused.

Fast forward to 1998. I fondly remembered my days as a child of riding in that Jeep to gather firewood. Or maybe just climbing around on the Willys, dreaming of someday driving it myself. So, in 1998, six years after leaving home for the Air Force myself, I decided to see if Grandpa would be willing to sell it to me.  He agreed.

My Uncle Terry was unaware of the deal I brokered, until I stopped by his house on the way back to Illinois with the Jeep on a trailer behind my truck. Needless to say, it was a "WTF" moment for him. Anyway, I got it back without incident, and have been sitting on it for the last twelve years, having done very little toward getting it back on the road again.


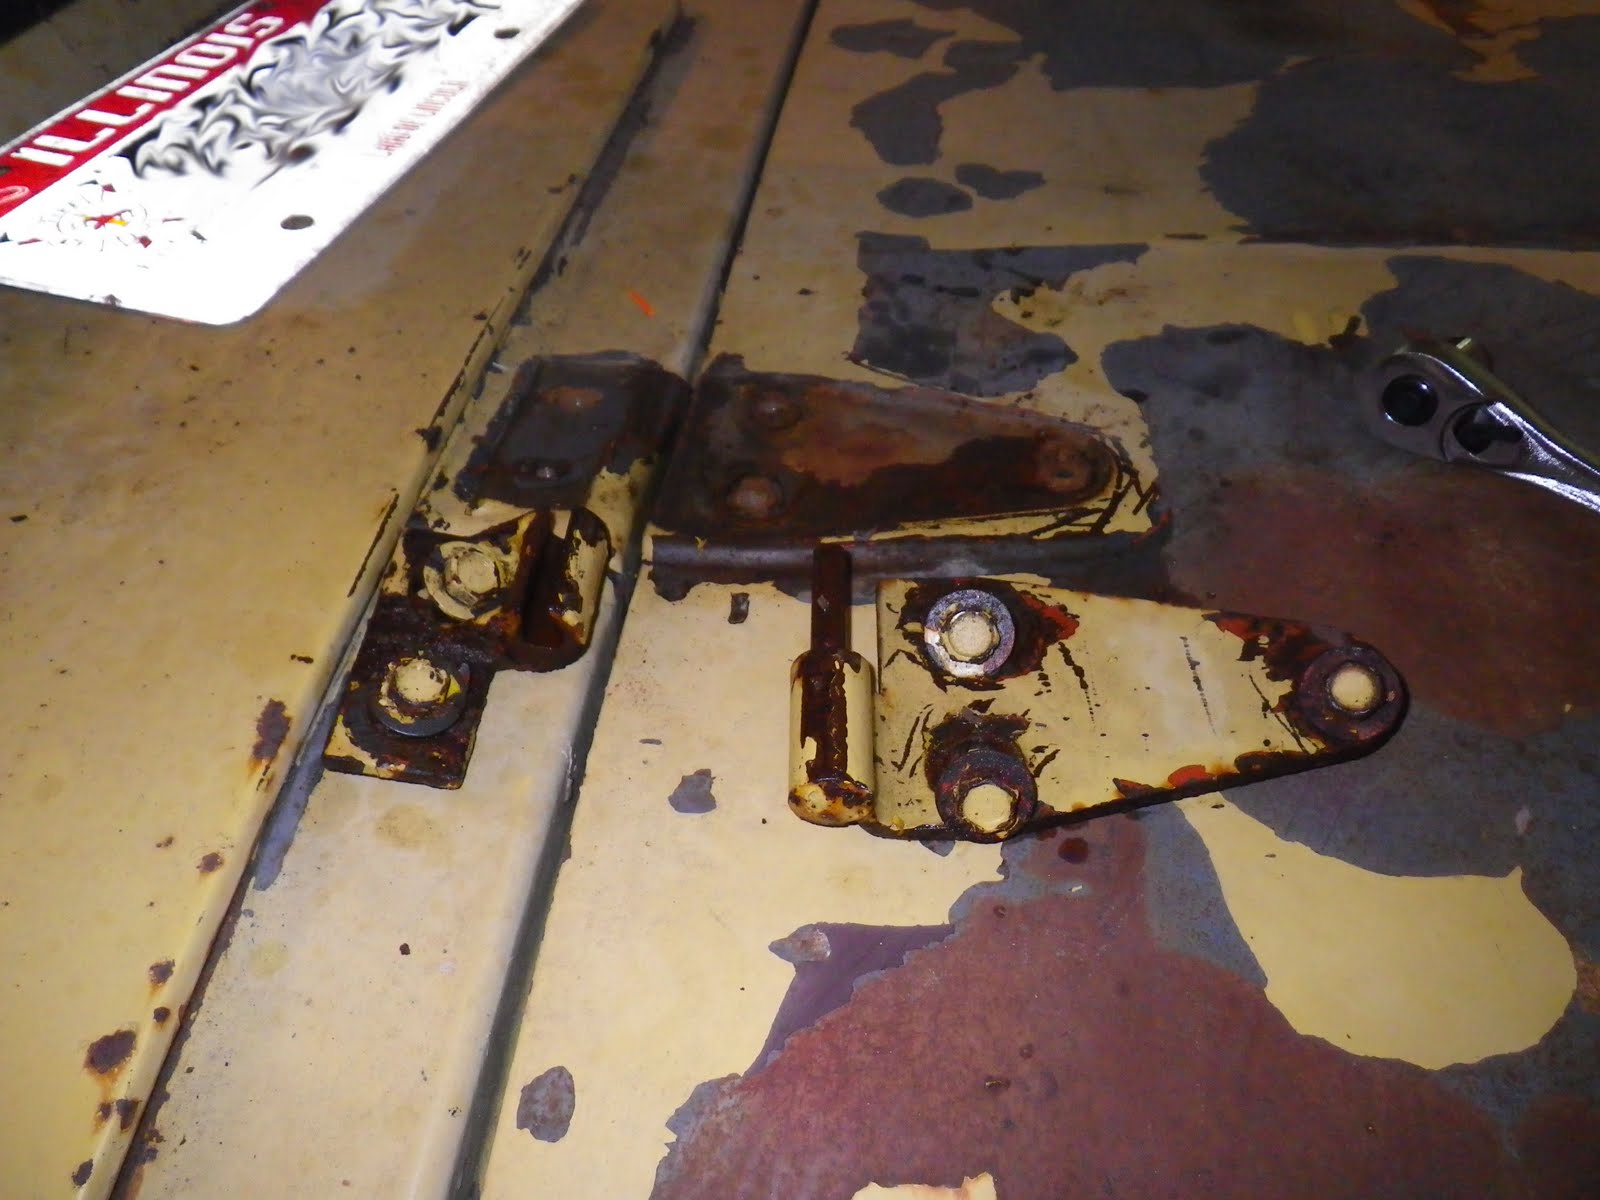
In my garage, the project begins...

In the coming months (and hopefully not years), I hope to document the modern rebuild of the Willys as much as I can on these pages. It isn't a restoration, as this Jeep is already well beyond modified already, and trying to take it back to "original, pristine condition" just isn't feasible. My goal is to make an adequate daily driver out of it, substituting modern upgrades whenever safety or convenience dictates.

I hope that you might learn with me as I go about rebuilding nearly every system and subsystem of this 54 year old machine. I will be uploading lots of pictures and documenting the progress as it goes along. I look forward to this, and I hope that you will join me on my trip!

And for those of you who might feel sorry for my Uncle Terry in all of this, he ended up purchasing another Jeep in the '70s... a 1949 Willys CJ3A.  It's a gorgeous all-original flatfender, and it's been sitting up at the farm in one of the barns for quite a few years.  I believe that my interest in getting the CJ5 project rolling has proven contagious, as he is in the beginning stages of starting to putter around with that one as well.  If I get some pictures of that one, I will be sure to post them here as well.